How to Transfer Photos from Android to iPhone
Wants to know how to transfer photos from Android to iPhone? Then you've come to the right place!
Are you about to switch from an Android to an iPhone and want to take all your photo memories with you?
You may think it's a challenge, but the truth is that transferring photos from Android to iPhone is a simple process.
For those who have a recently purchased or recently restored iPhone, the “Move to iOS” application for Android is an excellent option. As a plan B, you can always turn to iCloud, accessing it through your Android device's browser.
And if you're the type who prefers more traditional methods, you can always rely on good old drag and drop using a computer.
How to transfer photos from Android to iPhone?
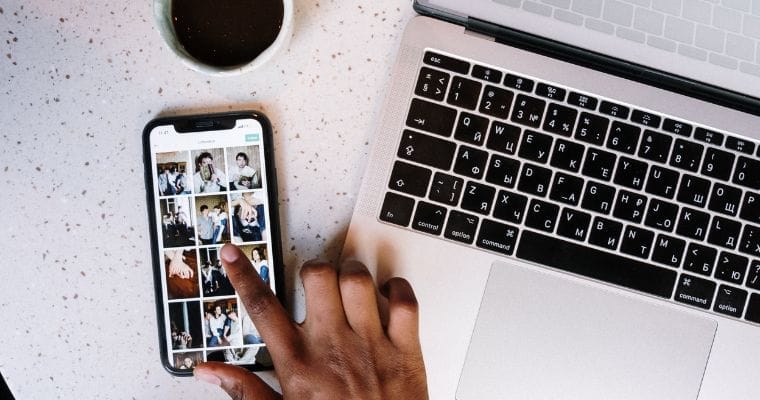
In this tutorial, we will present three techniques for you to transfer your photos from Android to iPhone in a simple and effective way.
One of the most popular ways to do this is using Apple's Move to iOS app. However, there is one detail to consider.
The prerequisite is that your iPhone is brand new or has been restored to its original factory settings.
Move to iOS
Using Move to iOS to transfer your images:
- Start setting up your new iPhone and connect it to Wi-Fi.
- When the Quick Start screen appears, click Configure manually.
- In the Apps and Data menu, choose Move data from Android.
- Then, on your Android, download and launch the Move to iOS app.
- Read and accept the terms of use, and then allow the application to access the necessary information.
- Move to iOS will establish a temporary Wi-Fi connection between the two devices. Enter the code that will appear on your iPhone.
- With your devices connected, select Photo Library or Camera Roll from the list of items to transfer, in addition to any other data you want to move.
- Click Continue to begin the transfer.
- During the process, you will be able to follow it using a progress bar.
- When finished, press the Done button and finish setting up your iPhone.
- Once everything is ready, access the Photos app on your iPhone to check all your images transferred from Android.
iCloud
Although there is no dedicated iCloud app for Android devices, you can easily access iCloud through a browser on your phone. With a few simple steps, you can upload your photos to the cloud.
Here's how to do it using iCloud:
- On your Android smartphone, open your preferred browser and access the iCloud website. Sign in with your Apple ID credentials.
- Once logged in, select the Photos option.
- You'll see an option to Upload next to your Photo Library. Alternatively, you can select the Albums icon at the bottom and then click Add.
- Click the Upload button within an album and allow the browser to access your images.
- Select the photos you want to transfer and confirm the action.
Once photos are uploaded to iCloud from your Android, they will automatically sync to your iPhone as long as iCloud sync is enabled on it.
Manually
For those who prefer to avoid using apps or iCloud, manually transferring photos from Android to iPhone via a PC is a viable option.
On Windows, just use the drag and drop method, while Mac users need Android File Transfer.
Here is a summary of the process:
- Create a folder on your PC, naming it, for example, “Photo Transfer”.
- Connect Android to PC and choose USB file transfer option on your phone.
- In File Explorer, navigate to DCIM > Camera on your Android.
- Then select and drag the desired photos to the folder created on the PC and then disconnect the Android.
- Connect iPhone to PC, disable iCloud Photos and open iTunes.
- Then, in iTunes, select your iPhone, go to Photos, and check “Sync Photos.”
- Finally, choose the transfer folder and click “Apply”. iTunes will transfer the photos to your iPhone.
